Ah, pizza – a word that conjures up visions of gooey cheese, tangy tomato sauce, and a myriad of toppings that can satisfy virtually any palate. It's no wonder that this beloved dish has captured hearts and taste buds around the globe, making it a universal favorite across ages and cultures. But beyond the delicious toppings and the perfect sauce lies the foundation of any great pizza: the dough. Creating homemade pizza dough might seem daunting to many, especially for those juggling the fast pace of modern life. Yet, the truth is, making your pizza dough from scratch is simpler than you might think and comes with a host of benefits that can elevate your pizza experience from good to unforgettable.
Embarking on the journey of how to make pizza dough at home allows you not only to control the quality of ingredients but also to customize the dough to fit your specific pizza preferences. Whether you're after a crust that's thin and crispy or one that's thick and chewy, mastering a basic, easy pizza dough recipe provides the flexibility to bring these textures into your kitchen. Additionally, the satisfaction of stretching and shaping the dough with your own hands adds a personal touch to the pizza-making process, transforming it into a culinary adventure that's both rewarding and fun.
The beauty of homemade pizza dough lies in its simplicity. With just a few staple ingredients and straightforward techniques, you can prepare a dough that rivals the best pizzerias in taste and texture. This guide is designed to demystify the process, offering busy cooks a simplified, step-by-step recipe that guarantees success every time. Whether you're a seasoned baker or a novice in the kitchen, this guide will show you that making pizza dough at home is not just possible; it's a delightful experience that will make pizza night a much-anticipated event in your household.
So, let's dive into the world of homemade pizza dough, where simplicity meets satisfaction, and discover how easy and rewarding it can be to bring the authentic taste of Italy right into your kitchen.
The Basics of Homemade Pizza Dough
Creating the perfect pizza begins with understanding the fundamentals of homemade pizza dough. This section breaks down the essential ingredients and equipment needed, setting the stage for a successful pizza-making experience. Let's delve into the components that combine to form the backbone of any delicious pizza.
Ingredients Overview
The magic of pizza dough comes from its simplicity, relying on just a handful of basic ingredients. Here's what you'll need:
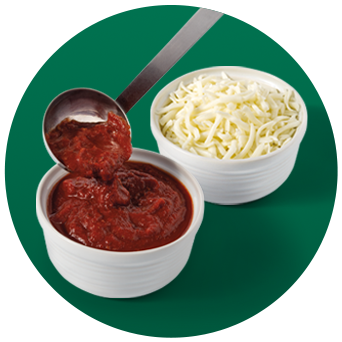
- Flour: The type of flour you use can significantly affect the texture of your pizza dough. All-purpose flour is a great starting point for beginners due to its widespread availability and versatility. For a chewier crust, high-protein bread flour is an excellent choice, as it develops more gluten.
- Water: Water activates the yeast and binds the flour to form the dough. The temperature of the water is crucial; lukewarm water (about 110°F) is ideal for encouraging yeast activity without killing it.
- Yeast: Yeast is the leavening agent that causes the dough to rise. Instant yeast is preferred for its convenience and reliability. It can be mixed directly with the flour without being activated in water first.
- Salt: Salt adds flavor and strengthens the gluten structure in the dough, contributing to a better texture. Remembering the salt is essential, as it also controls yeast fermentation, preventing the dough from rising too quickly.
- Olive Oil: Olive oil adds flavor and tenderizes the dough, making it easier to shape. It also contributes to the crust's golden color and crispiness.
- Sugar (optional): A small amount of sugar can be added to the dough to provide food for the yeast, speeding up fermentation. It also enhances the dough's browning and flavor.
Understanding each ingredient's role helps achieve the perfect dough texture and flavor, laying the groundwork for a top-notch pizza.
Key Equipment Needed
While pizza-making doesn't require fancy gadgets, having the right tools can streamline the process and improve the outcome. Here are the essential pieces of equipment for homemade pizza dough:
- Mixing Bowl: A large bowl is needed to mix the ingredients and allow the dough to rise.
- Measuring Cups and Spoons: Accurate measurements are key to consistent results, so having a set of measuring cups and spoons is vital.
- Dough Scraper: A dough scraper can help transfer and divide the dough and clean the work surface.
- Kitchen Scale (optional): For those who seek precision, a kitchen scale can ensure the exact ratio of ingredients, which is particularly crucial for flour and water.
- Rolling Pin: While many pizza lovers prefer to stretch the dough by hand, a rolling pin can help achieve a uniformly thin crust, especially for beginners.
- Pizza Stone or Baking Sheet: A pizza stone mimics the conditions of a pizza oven, absorbing moisture and distributing heat evenly for a crispy crust. Alternatively, a baking sheet can also yield great results when preheated.
Equipped with these basic ingredients and tools, you're well on your way to mastering the craft of homemade pizza dough. With a little practice and patience, you'll be able to create pizzas that taste fantastic and bring a sense of accomplishment and joy to your cooking adventures.
How to Make Pizza Dough: The Step-by-Step Guide
Mixing the Ingredients
- Start with the Flour: Place your chosen flour type in a large mixing bowl. If you're using instant yeast, you can mix it directly with the flour. For active dry yeast, you may need to dissolve it in warm water first, according to the package instructions.
- Add Warm Water: Slowly add lukewarm water to the flour mixture while stirring with a sturdy spoon or spatula. The warm water not only activates the yeast but also begins the gluten formation process in the flour.
- Incorporate Salt and Oil: Once you have a shaggy dough forming, add the salt and olive oil. It's crucial to add salt at this stage to ensure it's well distributed throughout the dough without directly contacting the yeast, which could inhibit its activity.
- Tips for Hydrating Flour: The key to a well-hydrated dough is adding water gradually and mixing thoroughly. Flour absorbs water at different rates depending on its type and the humidity in your kitchen. Aim for a dough that's tacky to the touch but not overly sticky. If the dough feels too dry, add water a tablespoon at a time until you reach the desired consistency.
Kneading the Dough
- The Kneading Process: Transfer your dough to a lightly floured surface and knead with the heels of your hands. Push the dough away from you, then fold it back over itself. Turn the dough a quarter turn and repeat. This process develops the gluten, giving the dough elasticity and strength.
- Time-Saving Techniques: While traditional kneading can take about 10 minutes by hand, you can save time using a stand mixer with a dough hook attachment. Mix on a low speed for about 5 to 7 minutes until the dough is smooth and elastic.
- Recognizing Perfectly Kneaded Dough: The dough should be soft, slightly tacky, and spring back when poked. If it tears when you stretch it, it needs more kneading. A well-kneaded dough will also pass the "windowpane test": a small piece of dough can stretch between your fingers without tearing, creating a thin membrane.
The Proofing Process
- First Rise (Bulk Fermentation): Place the kneaded dough in a lightly oiled bowl, covering it with plastic wrap or a damp towel. Leave it to rise in a warm, draft-free area. This first rise gives the dough its flavor and texture.
- Signs of Proper Proofing: The dough is ready for shaping when it has doubled in size and leaves a finger indentation when poked rather than springing back immediately.
Time-Saving Tips for Busy Cooks
Quick Proofing Techniques
- Warm Oven Method: As mentioned above, a slightly warmed oven can create the perfect environment for speeding up the proofing process.
- Microwave with Steam: Utilizing a cup of steaming water in a microwave can also create a warm, humid environment that encourages faster rising.
Prepping Dough in Advance
- Refrigerating Dough: For those planning ahead, pizza dough can be made in advance and stored in the refrigerator. Cover the dough tightly with plastic wrap, which can be refrigerated for up to 2 days. Cold fermentation can improve the flavor and texture of the dough.
- Freezing for Future Use: Pizza dough also freezes well. Divide the dough into portions, wrap each piece tightly in plastic wrap, and place them in freezer bags. Thaw in the refrigerator overnight or on the countertop for a few hours before using.
By integrating these techniques into your pizza dough preparation, you'll find that making homemade pizza dough fits seamlessly into your busy schedule, allowing for delicious, custom pizzas anytime the craving strikes.
Customizing Your Pizza Dough
The beauty of making homemade pizza dough is the ability to customize it to your preferences. Whether you're after a specific crust texture or want to experiment with different flavors, a few simple adjustments can transform your basic dough into something truly special.
Variations for Different Types of Flour
- Whole Wheat Flour: For a healthier twist, whole wheat flour can replace some or all of the all-purpose or bread flour. Whole wheat flour adds a nutty flavor and denser texture to your pizza crust. Start by substituting half of the all-purpose flour with whole wheat flour to gauge its impact on the dough's texture and adjust from there.
- Bread Flour: If you're aiming for a chewier crust, bread flour is your go-to. Its higher protein content develops more gluten, giving your crust that desirable elasticity and bite. You can replace all-purpose flour with bread flour in equal amounts for an easy pizza dough recipe that yields a more robust crust.
- Gluten-Free Alternatives: For those with gluten sensitivities, several gluten-free flour blends can be used to make pizza dough. Look for a blend specifically designed for bread and pizza for the best results. Note that gluten-free doughs may require additional binders like xanthan gum, as specified by the flour manufacturer.
Achieving Your Desired Crust
- Thin and Crispy: For a thin and crispy crust, roll out your dough as thinly as possible. Pre-bake the crust for a few minutes before adding your toppings to prevent it from becoming soggy. Baking at a high temperature is also crucial for achieving that perfect crunch.
- Thick and Chewy: For a thicker, chewier crust, simply leave your dough a bit thicker when you roll or stretch it out. Allow a longer proofing time to give the dough a chance to rise more, creating that soft, airy texture. Baking at a slightly lower temperature for a longer period helps cook the dough through without burning the exterior.
Advanced Tips and Tricks
Handling Sticky Dough
Sticky dough is a common challenge when making homemade pizza dough, but it's easily manageable with a few tricks:
- Flour Your Hands and Surface: Keeping your hands and work surface lightly floured can prevent the dough from sticking without adding too much extra flour to the dough itself.
- Use a Dough Scraper: A dough scraper is an invaluable tool for handling and transferring sticky dough.
- Chill the Dough: If the dough becomes too sticky, chilling it in the refrigerator for 20-30 minutes can make it easier to handle.
Creating a Flavorful Dough
Enhancing your easy pizza dough recipe with additional flavors can turn a good pizza into a great one:
- Herbs: Mix dried herbs like oregano, basil, or Italian seasoning into your dough for an aromatic twist.
- Garlic: Adding minced garlic or garlic powder to your dough can infuse it with a subtle, savory flavor.
- Cheese: For an extra cheesy experience, try incorporating finely grated Parmesan or Asiago cheese into the dough.
Remember, the key to successful homemade pizza dough is experimentation and customization. Don't be afraid to try new adjustments to find how to make pizza dough that perfectly suits your taste. Whether you're in the mood for a classic crust or something unique, these tips and tricks can help you create the perfect base for your next pizza night.
The Final Stretch: Rolling and Shaping Your Dough
Rolling Out Your Dough
Achieving the perfect crust starts with how you roll out your homemade pizza dough. Place your dough on a lightly floured surface to prevent sticking. Begin by pressing down in the center and working your way outwards, using a rolling pin to gently extend the dough. Rotate and flip the dough occasionally to maintain an even shape and thickness. For a thinner crust, roll the dough until it's about 1/8-inch thick. If you prefer a thicker base, aim for approximately 1/4-inch thickness. Remember, the dough will rise a bit more in the oven, so roll it slightly thinner than your desired outcome.
Shaping Tips for Perfect Pizzas
Creating a pizza with a uniform shape and an even crust edge adds to its visual appeal and ensures even baking. After rolling out your dough, you can refine the shape using your hands. Gently pull and stretch the edges to form a round shape. For a classic pizzeria look, form a slightly thicker rim around the edge by pinching the dough between your fingers. This rim also helps to contain your toppings.
Ready for the Oven: Preparing Your Dough for Baking
Pre-baking Tips
Pre-baking your dough can be particularly beneficial when using toppings that release moisture, such as fresh vegetables, or achieving a crisper bottom. To pre-bake, place your rolled-out dough on a preheated pizza stone or baking sheet and bake at a high temperature for 5-7 minutes until it's just starting to turn golden. Remove the crust from the oven, add your toppings, and finish baking.
Baking Temperature and Time
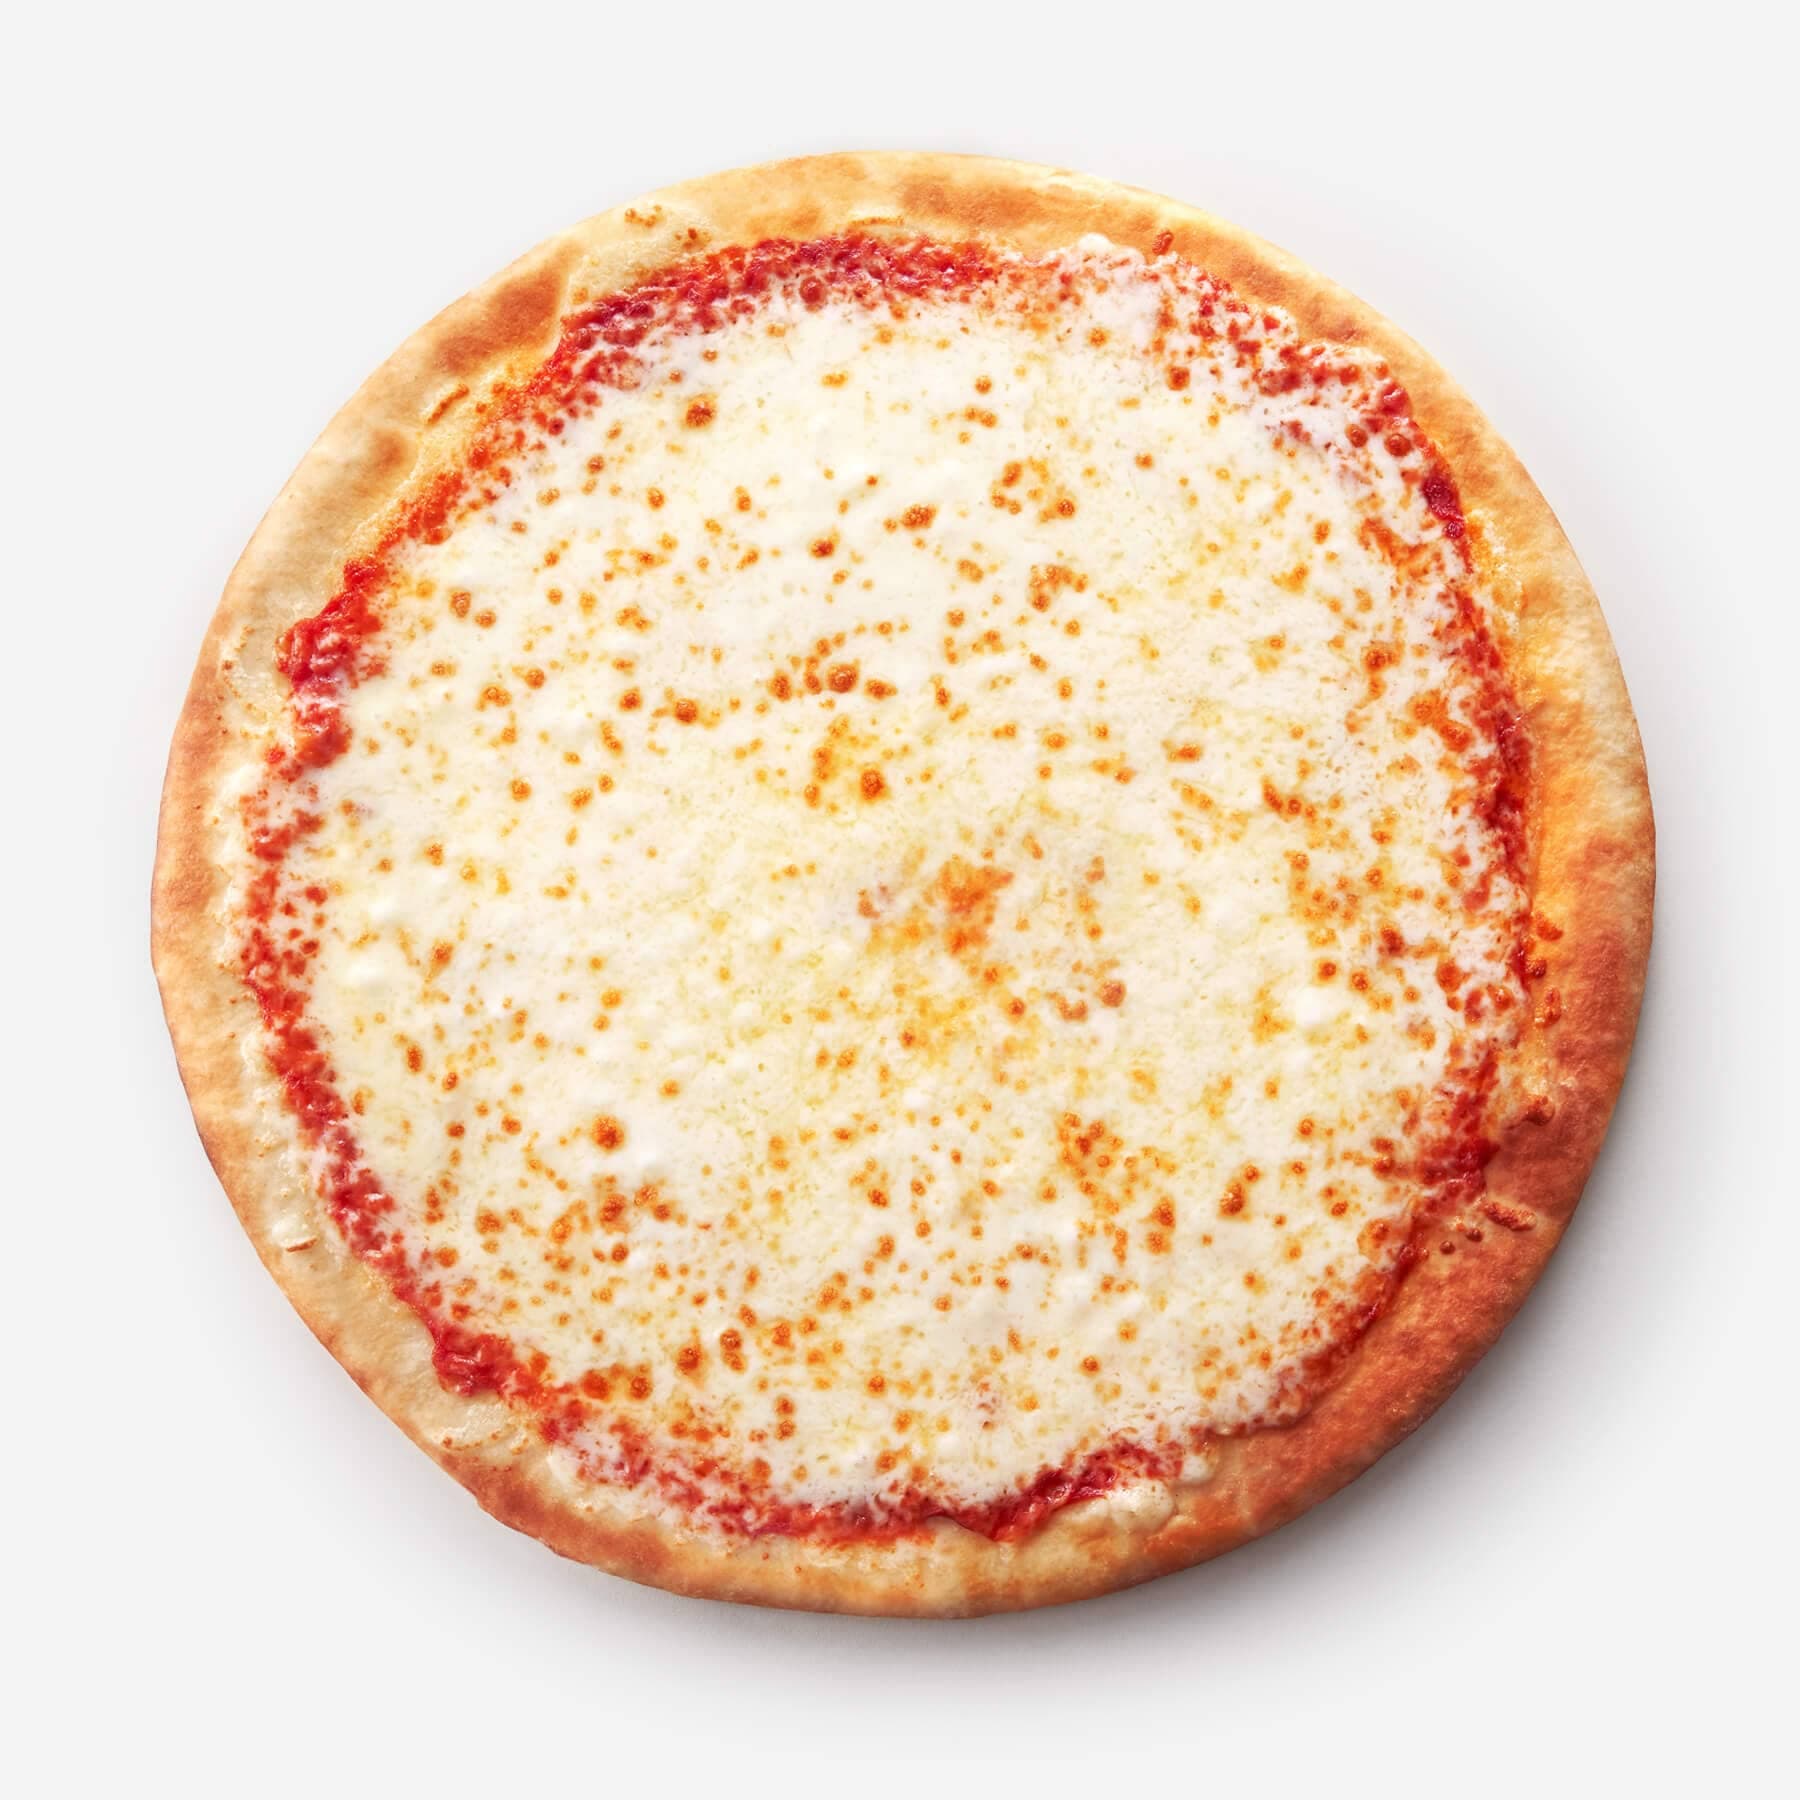
The key to a perfect crust is a hot oven. Preheat your oven to its highest setting, typically between 475°F to 500°F (245°C to 260°C). This high temperature ensures a crispy exterior while keeping the interior soft and airy. Bake your pizza for about 10-15 minutes, depending on your oven and the thickness of your crust. Keep an eye on it—the pizza is ready when the crust is golden brown, and the cheese is bubbly and slightly browned.
Crafting Masterpieces in Your Kitchen: A Joyful Conclusion
Mastering how to make pizza dough and transforming it into delicious, golden-brown pizzas is more than just a culinary skill—it's an art form that brings joy and satisfaction into your kitchen. With this easy pizza dough recipe and the tips provided, you're well-equipped to craft pizzas that rival those of your favorite pizzeria, customized precisely to your taste.
Remember, the beauty of homemade pizza dough lies not just in the delightful meals it creates but in the fun and fulfillment found in the process. Each roll, shape, and bake is a step towards perfecting your pizza-making craft, offering endless opportunities for creativity and experimentation.
So, whether you're gathering with loved ones for a pizza night or simply indulging in a personal pizza creation, the knowledge and skills you've gained here will ensure every bite is a testament to the love and care put into each homemade pizza. Happy baking, and may your pizzas be as boundless in flavor as your passion for making them!